The Forms Data tab contains the data elements associated with the selected form layout. For example, for a sales order form, the Forms Data tab contains data elements for customer name, sales tax, delivery charge, etc. The data elements are organized into broad groups. Click on an item to display its hidden data elements. Any item with a plus sign (+) next to it can be expanded.
To add a field to the form, click the desired field item in the Form Data window and drag and drop it onto the form, at or near the location you want it to appear on the form. The program adds an XRLabel control bound to the selected data field. You can re-positioned the field at any time.
You can also edit the font size, type, and style, as well as other aspects of the control. Click the small arrow button ![]() located in the upper right corner of the control box to display a label task menu .
located in the upper right corner of the control box to display a label task menu .
 --->
--->  --->
---> 
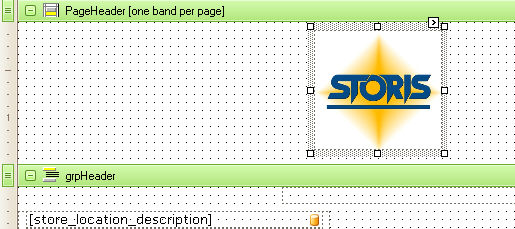
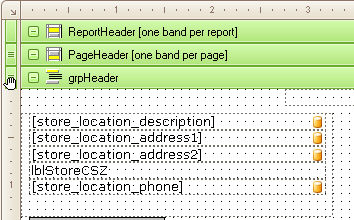
To add a control to a section of the form that currently contains no controls, you must expand the section before placing the controls in that section. For example, to add a form control to a layout you want to print at the top of every page, place the control in the PageHeader [one band per page] section. Using the mouse, click and drag the section header (grpHeader) just below the PageHeader line. (See below.)
 --->
---> 
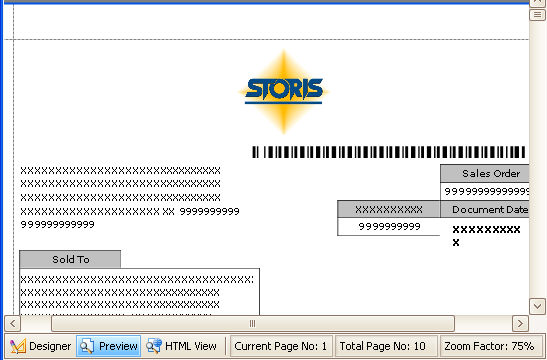
Insert the control in the PageHeader section. In this example, a PictureBox was inserted, and an image placed within that box. The image will print at the top of every page when this form is printed.